To guarantee precise analysis, you should follow a detailed metallurgical microscope checklist. Regularly verify calibration using standards, keep optical components clean, and inspect for dirt or damage. Maintain proper sample preparation by polishing and etching correctly, and ensure specimens are contaminant-free. Routine maintenance such as updating software and checking lighting levels is essential for reliability. Following these steps consistently minimizes errors and maximizes equipment lifespan. Keep going to discover more essential tips for ideal microscope performance.
Key Takeaways
- Regularly verify calibration of optical components and magnification accuracy using standards like stage micrometers.
- Ensure thorough cleaning of lenses and optical surfaces to prevent artifacts and maintain image clarity.
- Follow standardized sample preparation protocols, including polishing, etching, and mounting for consistent results.
- Conduct routine maintenance, including checking lighting systems and mechanical parts, to ensure equipment reliability.
- Keep detailed logs of calibration, cleaning, maintenance, and inspection activities for quality assurance.
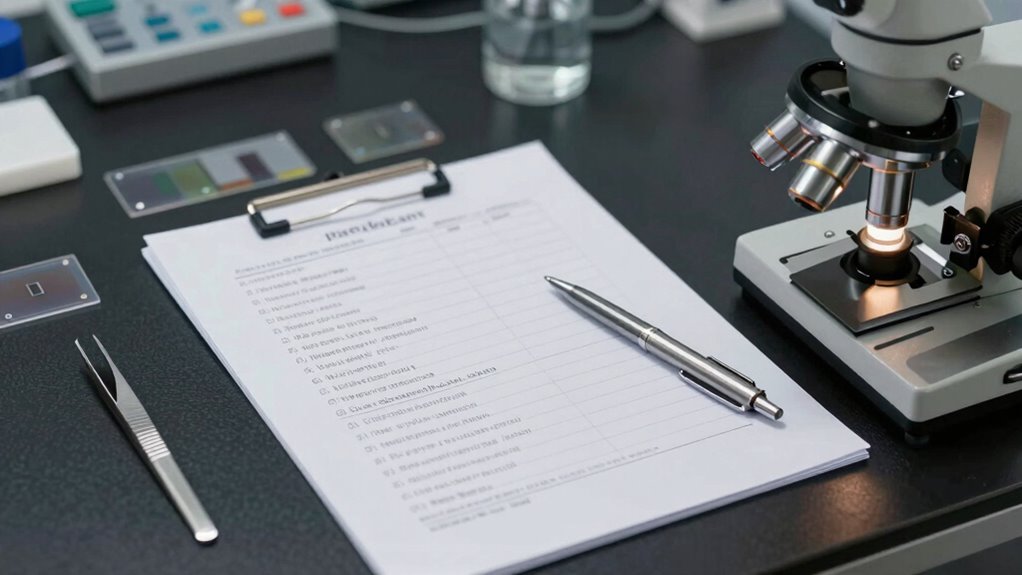
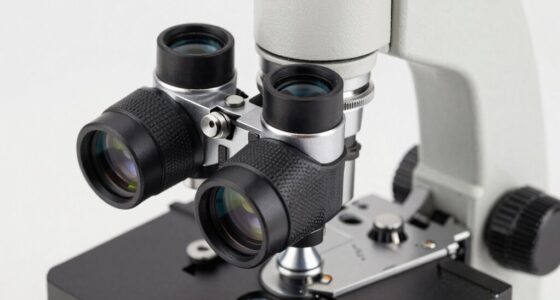
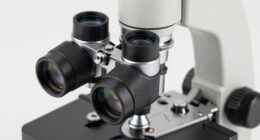
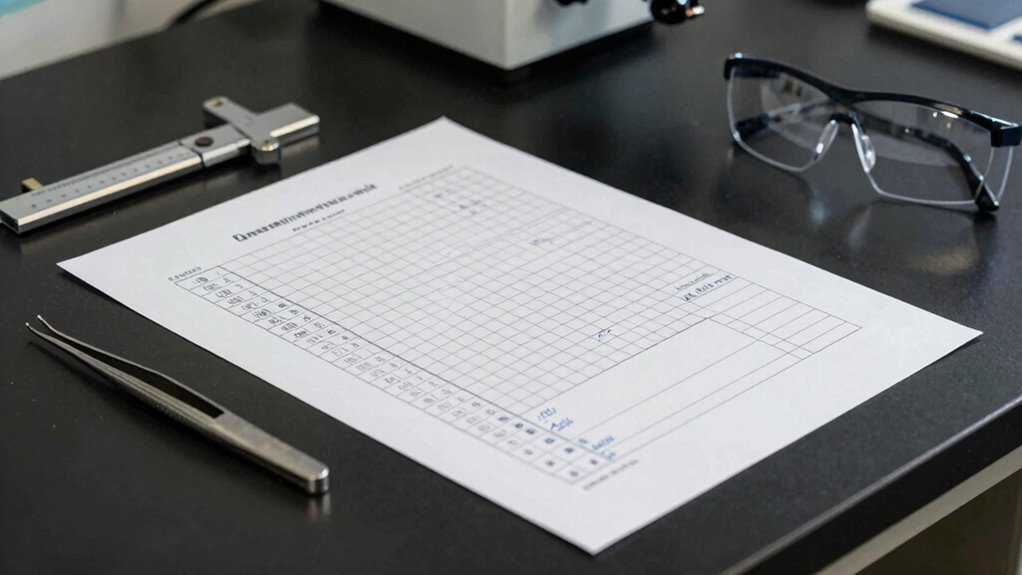
A metallurgical microscope is a essential tool for analyzing the microstructure of metals and alloys, and guaranteeing its proper setup and maintenance is necessary for accurate results. When using the microscope, you need to pay close attention to sample preparation, as the quality of your samples directly impacts the clarity and reliability of your observations. Proper sample prep involves polishing, etching, and mounting specimens to reveal the microstructure without introducing artifacts or distortions. If your samples aren’t prepared correctly, you risk misinterpreting critical features, which can lead to faulty conclusions about material properties. Always follow standardized preparation protocols, and verify that your samples are free of contaminants and surface imperfections before viewing them under the microscope. Additionally, understanding the microstructure analysis techniques can help in interpreting your observations more accurately. Calibration procedures are equally essential in maintaining the accuracy of your readings. Regular calibration guarantees your measurements are precise and consistent over time. You should routinely check the calibration of your microscope’s optical components, including the reticle, eyepieces, and focusing mechanism. Use calibration standards or stage micrometers to verify the scale and magnification. If you notice discrepancies, recalibrate immediately to prevent errors in your analysis. Proper calibration also involves confirming that the lighting system delivers uniform illumination, as inconsistent lighting can obscure details or create misleading shadows. Keep a detailed log of calibration activities, noting dates and results, so you can track when adjustments are needed and ensure ongoing precision. In addition to sample prep and calibration, you should also inspect and clean your microscope regularly. Dust, dirt, and fingerprints on lenses or stage components can compromise image clarity. Use appropriate cleaning solutions and lint-free cloths to keep all optical surfaces spotless. Check that all mechanical parts move smoothly and that the stage is properly aligned, which helps in obtaining accurate measurements and clear images. Regularly examine the light source to ensure it’s functioning correctly and replace bulbs as needed to maintain consistent illumination levels. Additionally, inspecting optical components periodically can prevent deterioration in image quality over time. Implementing a routine maintenance schedule, including software updates if your microscope has digital features, can further prevent operational issues and extend the lifespan of your equipment. Establishing a comprehensive maintenance plan can help identify potential problems early and reduce downtime. Finally, maintaining a detailed checklist for routine maintenance tasks, including software updates if your microscope has digital components. Establishing a routine helps prevent overlooked issues that could compromise your analysis. By systematically following these steps—focused on sample preparation, calibration procedures, cleaning, and maintenance—you guarantee your metallurgical microscope remains reliable and produces precise, meaningful data every time you use it.

0.01mm Microscope Reticle Calibration Camera Slide Ruler Cross Stage Micrometer Multifunctional Microscope Calibrating Ruler
Two Measuring Division: 0.01mm x 100 = 1mm, 0.1mm x 10 = 1mm
As an affiliate, we earn on qualifying purchases.
As an affiliate, we earn on qualifying purchases.
Frequently Asked Questions
What Is the Ideal Magnification Range for Metallurgical Microscopes?
You should aim for a magnification range of 50x to 1000x when using a metallurgical microscope. This range allows you to effectively examine sample preparation details and utilize various illumination techniques for ideal imaging. Higher magnifications reveal fine microstructural features, while lower ones help in general overviews. Adjusting magnification based on your sample and analysis goals ensures accurate observations and detailed insights into the material’s properties.
How Often Should Microscope Lenses Be Calibrated?
You should calibrate your microscope lenses regularly to guarantee accurate observations. Experts recommend checking calibration at least once every six months, but if you frequently switch lenses or handle harsh environments, consider more frequent calibration. Proper lens maintenance, including cleaning and careful handling, helps maintain calibration accuracy. Regular calibration ensures your microscope provides precise results, preventing measurement errors that could impact your metallurgical analysis or research outcomes.
What Safety Precautions Are Necessary During Microscopic Analysis?
During microscopic analysis, you need to prioritize safety by wearing appropriate personal protective equipment like gloves, lab coats, and eye protection. Always follow proper sample preparation techniques to prevent contamination and guarantee accurate results. Handle samples carefully to avoid spills or breakage, and work in a well-ventilated area. By adhering to these safety precautions, you protect yourself and maintain the integrity of your analysis.
Can a Metallurgical Microscope Be Used for Non-Metallic Samples?
Like a painter choosing the right brushes, you can definitely use a metallurgical microscope for non-metallic analysis, including biological samples. Its powerful magnification and illumination make it versatile for examining plastics, minerals, or biological tissues. Just remember, while it’s excellent for detailed surface studies, some biological samples may require specific slide preparations or stains to reveal their full details. With proper adjustments, your microscope becomes a tool for diverse scientific explorations.
What Are Common Troubleshooting Steps for Image Clarity Issues?
If you’re facing image clarity issues, start by checking your sample preparation to guarantee the sample is properly cleaned and mounted. Then, adjust the lighting, such as the brightness and angle, to improve contrast and detail. Make sure your objective lens is clean and properly focused. If needed, refine your focus and verify that the microscope settings match the sample type. These steps typically resolve most clarity problems.

Camera Lens Cleaning kit,Camera Accessories,Camera Sensor and Lens Cleaning kit,Lens Pen
Camera Lens Cleaning Kit (14 pieces), including, air blower, lens pen, cleaning brush, lint-free cloth, lens pen, storage…
As an affiliate, we earn on qualifying purchases.
As an affiliate, we earn on qualifying purchases.
Conclusion
So, you see, sticking to this checklist might just save you from a catastrophic mistake—unless, of course, you prefer winging it and risking your entire project. Irony aside, following these steps guarantees you catch every detail, leaving no room for surprises. After all, when it comes to metallurgical microscopes, a little preparation goes a long way—because nothing says “professional” like double-checking your gear before diving into those essential observations.
Diamond Polishing Compound Kit of 6 Polishing Lapping Paste 80,000 to 450 Grit for Glass Watch Marble Metal Resin Rock Jewelry Etc. with High Concentration of Diamond Powder Scratch Remover Repair
OIL-BASED DIAMOND COMPOUND KIT: Includes six 5-gram syringes of high-concentration diamond paste for rapid, ultra-smooth, and precise polishing….
As an affiliate, we earn on qualifying purchases.
As an affiliate, we earn on qualifying purchases.

AmScope MLA-Kim Microscope Maintenance Kit – Ultra-Low Viscosity Immersion Oil and Kimwipes Wipers
1/4 Oz Type B medium viscosity immersion oil for better microscopy images and prolonged use
As an affiliate, we earn on qualifying purchases.
As an affiliate, we earn on qualifying purchases.